Contributing to Mechanism Examples
The mechanism examples pages are the ones that would benefit the most from outside contribution. You can add examples from other teams, of course, but adding your own mechanism and going behind the design and performance on it will be ideal. If adding an example from another team, try to interview them for their input and more accurate information.
Criteria for Mechanism Examples:
- It must have been actually built and used at a competition
- You must show both the good parts and the bad parts. What was it designed for? Why were certain decisions made? How easy was it to build and manufacture? How did it actually perform? What went well and what would be changed if it was redesigned?
- Go into detail about specific parts of the design, such as the materials and parts used and why, any specific mechanisms or processes, etc.
- Detailed pictures of the CAD and/or the actual robot. Preferably public CAD made in or uploaded to Onshape.
- Extra media and links if available and applicable.
Adding Mechanism Examples
As was described in methods of contributing, there are two methods:
- Writing the contribution on a separate platform (such as Google Docs) and getting an internal contributor to add it to the website
- Forking and making a pull request on GitHub
The first method is pretty self explanatory, but if you choose to fork and make a pull request on GitHub, there is some formatting required. Make sure to follow the contribution guide on the methods of contributing page to get up and running with GitHub and VS Code.
Adding a Mechanism Category (OPTIONAL)
If you need to add a mechanism category, you must add a landing page for the mechanism examples in that category and a grid card to the mechanism examples landing page.
Adding the Folders and Files
- Create a new folder under
mechanism-exampleswith the name of the new mechanism category. All mechanism example pages and the landing page for the category will be in this folder.
!!! Note If there are multiple types of the mechanism (such as with elevators and intakes), you can create multiple folders in that with the landing pages in each separate folder. For example, the folder elevator contains the folders cascade and continuous, both of which contain a landing page index.md.
- In the root folder of the new category, create a new file called
.meta.ymland copy the following code into it:
social:
  cards_layout_dir: layouts
  cards_layout: mechanism_fundamentals_wide
This sets the size of image you will use for the social card for embeds for the whole category. You can choose between mechanism_fundamentals_wide or mechanism_fundamentals_tall for the cards_layout option.
Images have to be 1:1.545 or 1.545:1, any size. More information provided here
- Create the landing page(s) for the category, named
index.md. Only one of these can be made per folder.
Copy this template for the category landing page and fill it out with your information:
---
title: page-title
image: link-to-social-card-image
---
# page-title
description
<div class="grid cards" markdown>
- <center markdown>[](link-to-page)</center>
***
description-about-unique-aspects-of-example
[:octicons-arrow-right-24: page title](link-to-page)
</div>
<br>
The following is the code for the drivebase examples landing page:
---
title: Drivebase Examples
image: docs/img/mechanism-examples/drivebase/swerve/2910_2023_dt.webp
---
# Swerve Drivebases
The drivebase is the single most important part of your robot, providing a bed for every other subsystem to build off. Examples of different drivebases can provide inspiration for electronics layout, bellypan shapes, and structural cross members for mounting, all of which can be a hard but crucial part of designing a robot, as accessibility and maintainability need to be preserved even as subsystems get placed on top of the robot.
<div class="grid cards" markdown>
- <center markdown>[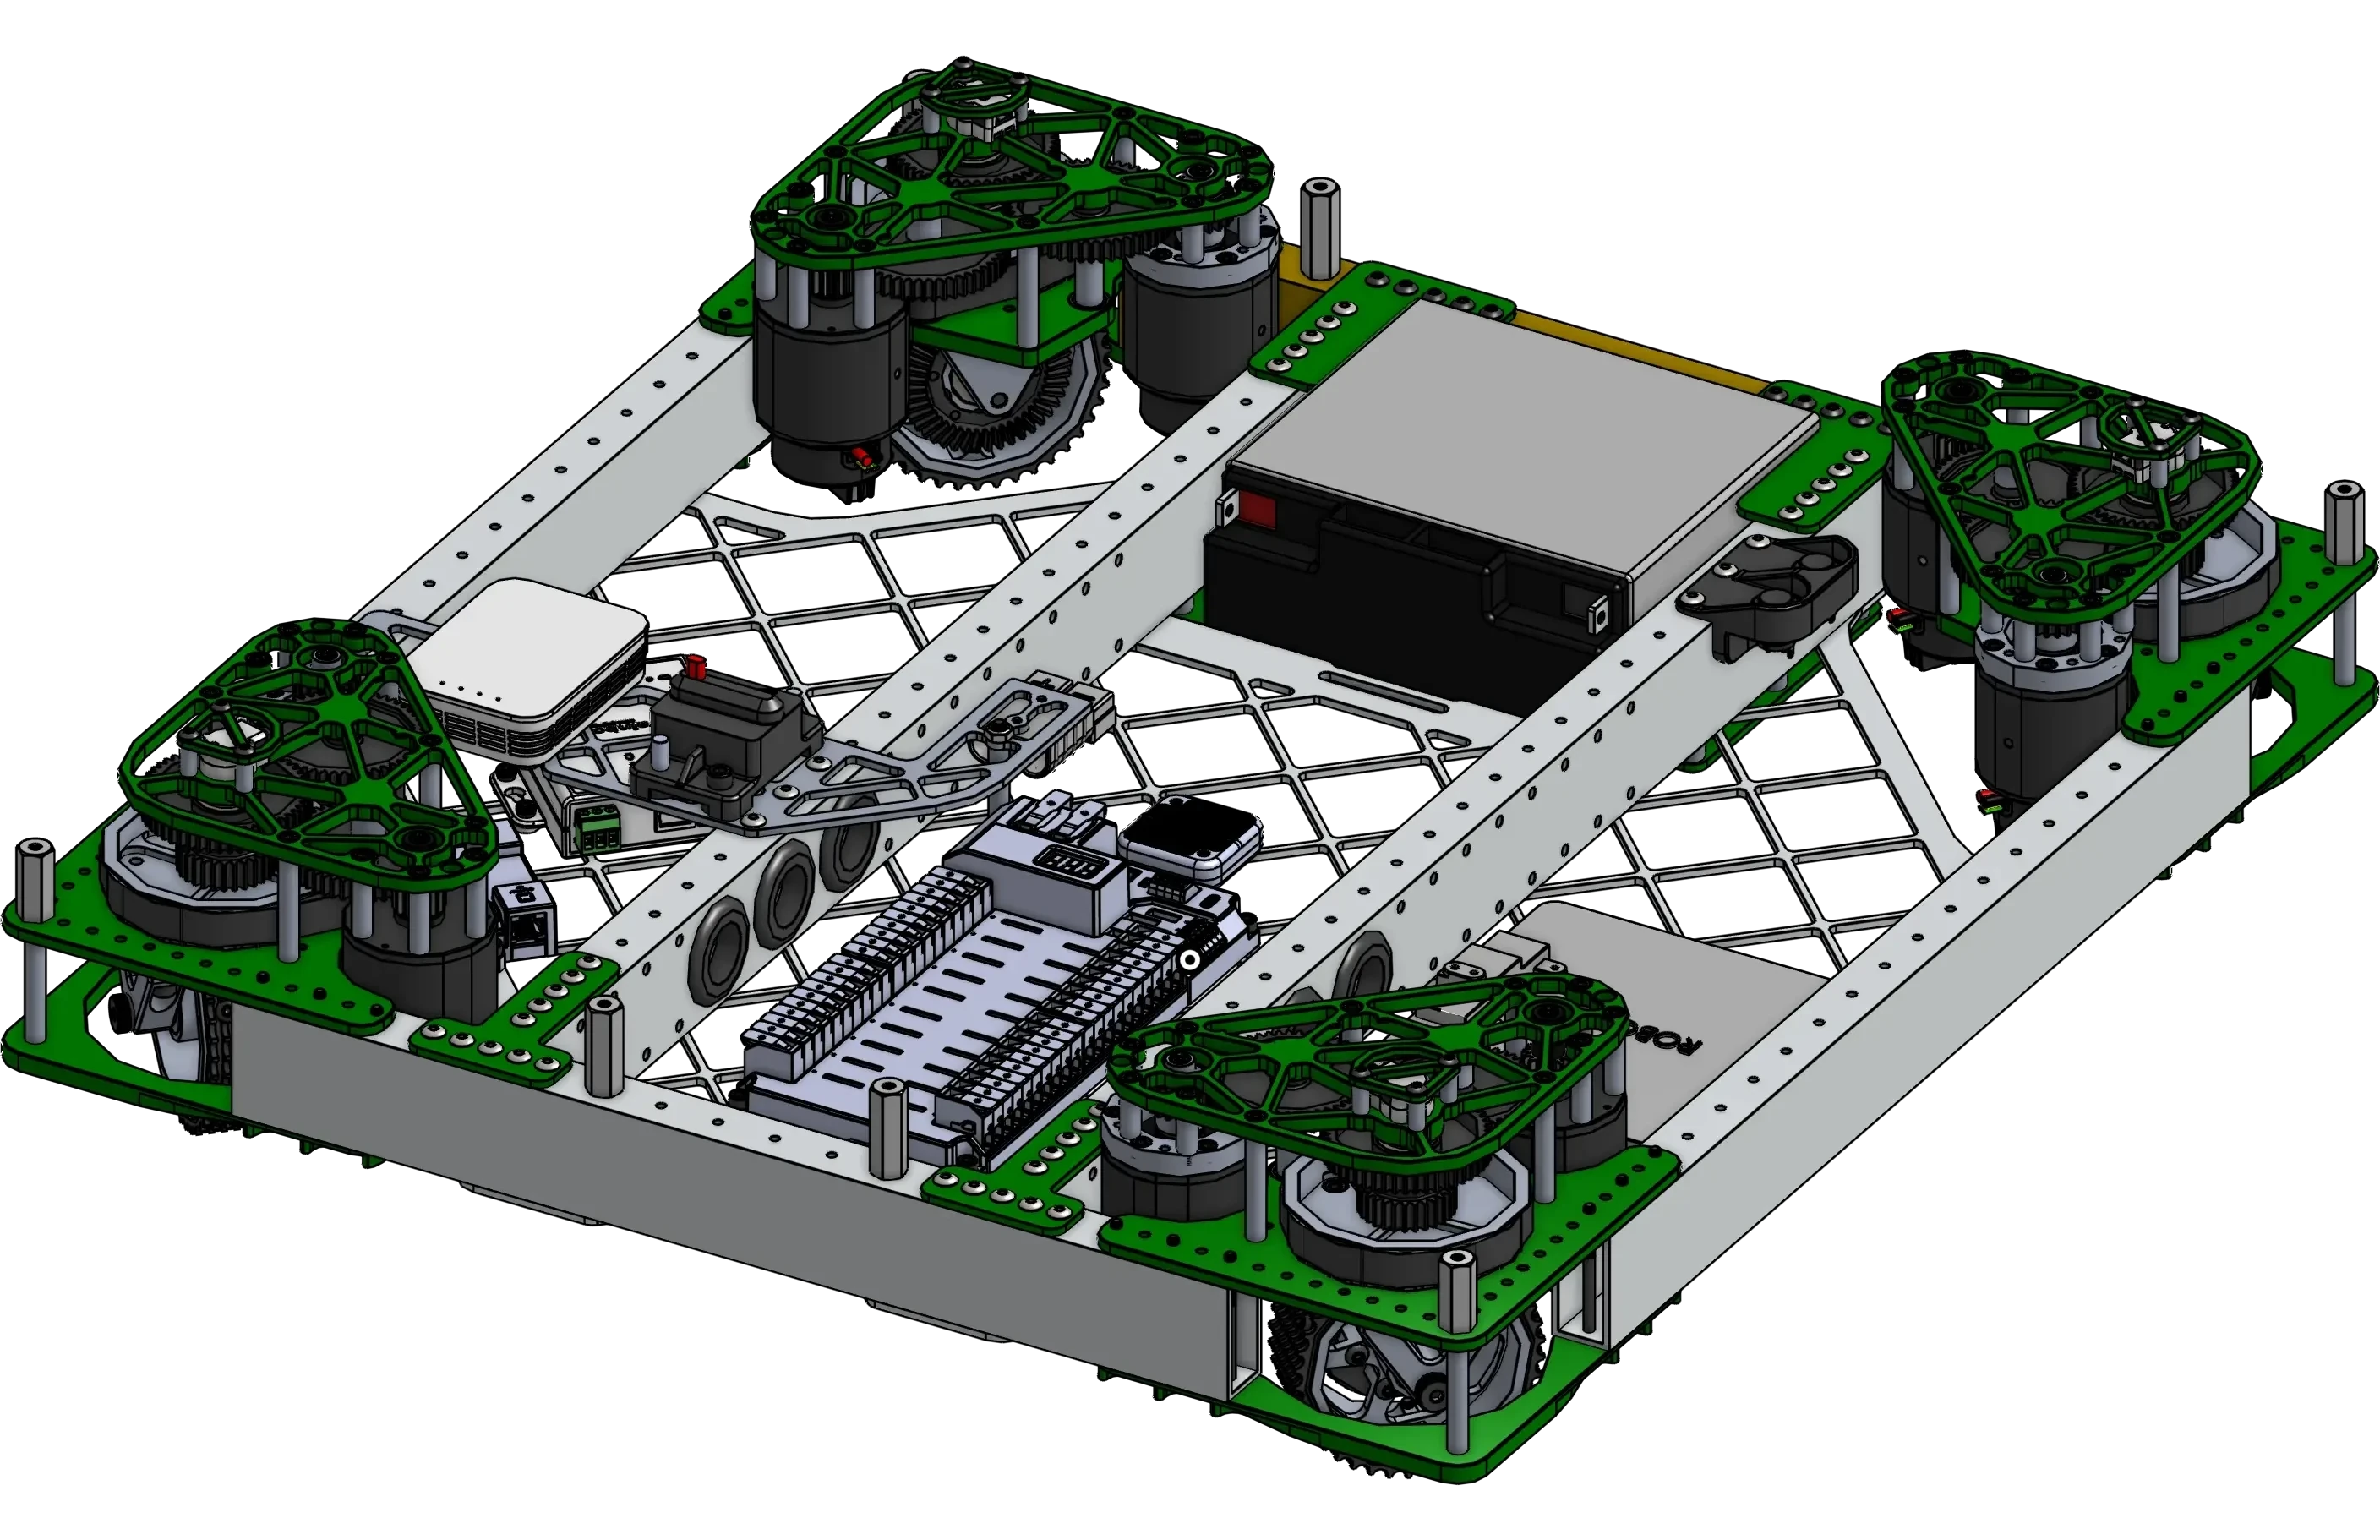](2910_2023_dt.md)</center>
- <center markdown>[](2910_2023_dt.md)</center>
---
A custom plate to keep the radio and breaker accessible, holes with grommets to allow wires to pass through the cross members
[:octicons-arrow-right-24: 2910 Charged Up Drivebase](2910_2023_dt.md)
[:octicons-arrow-right-24: 2910 Charged Up Drivebase](2910_2023_dt.md)
- <center markdown>[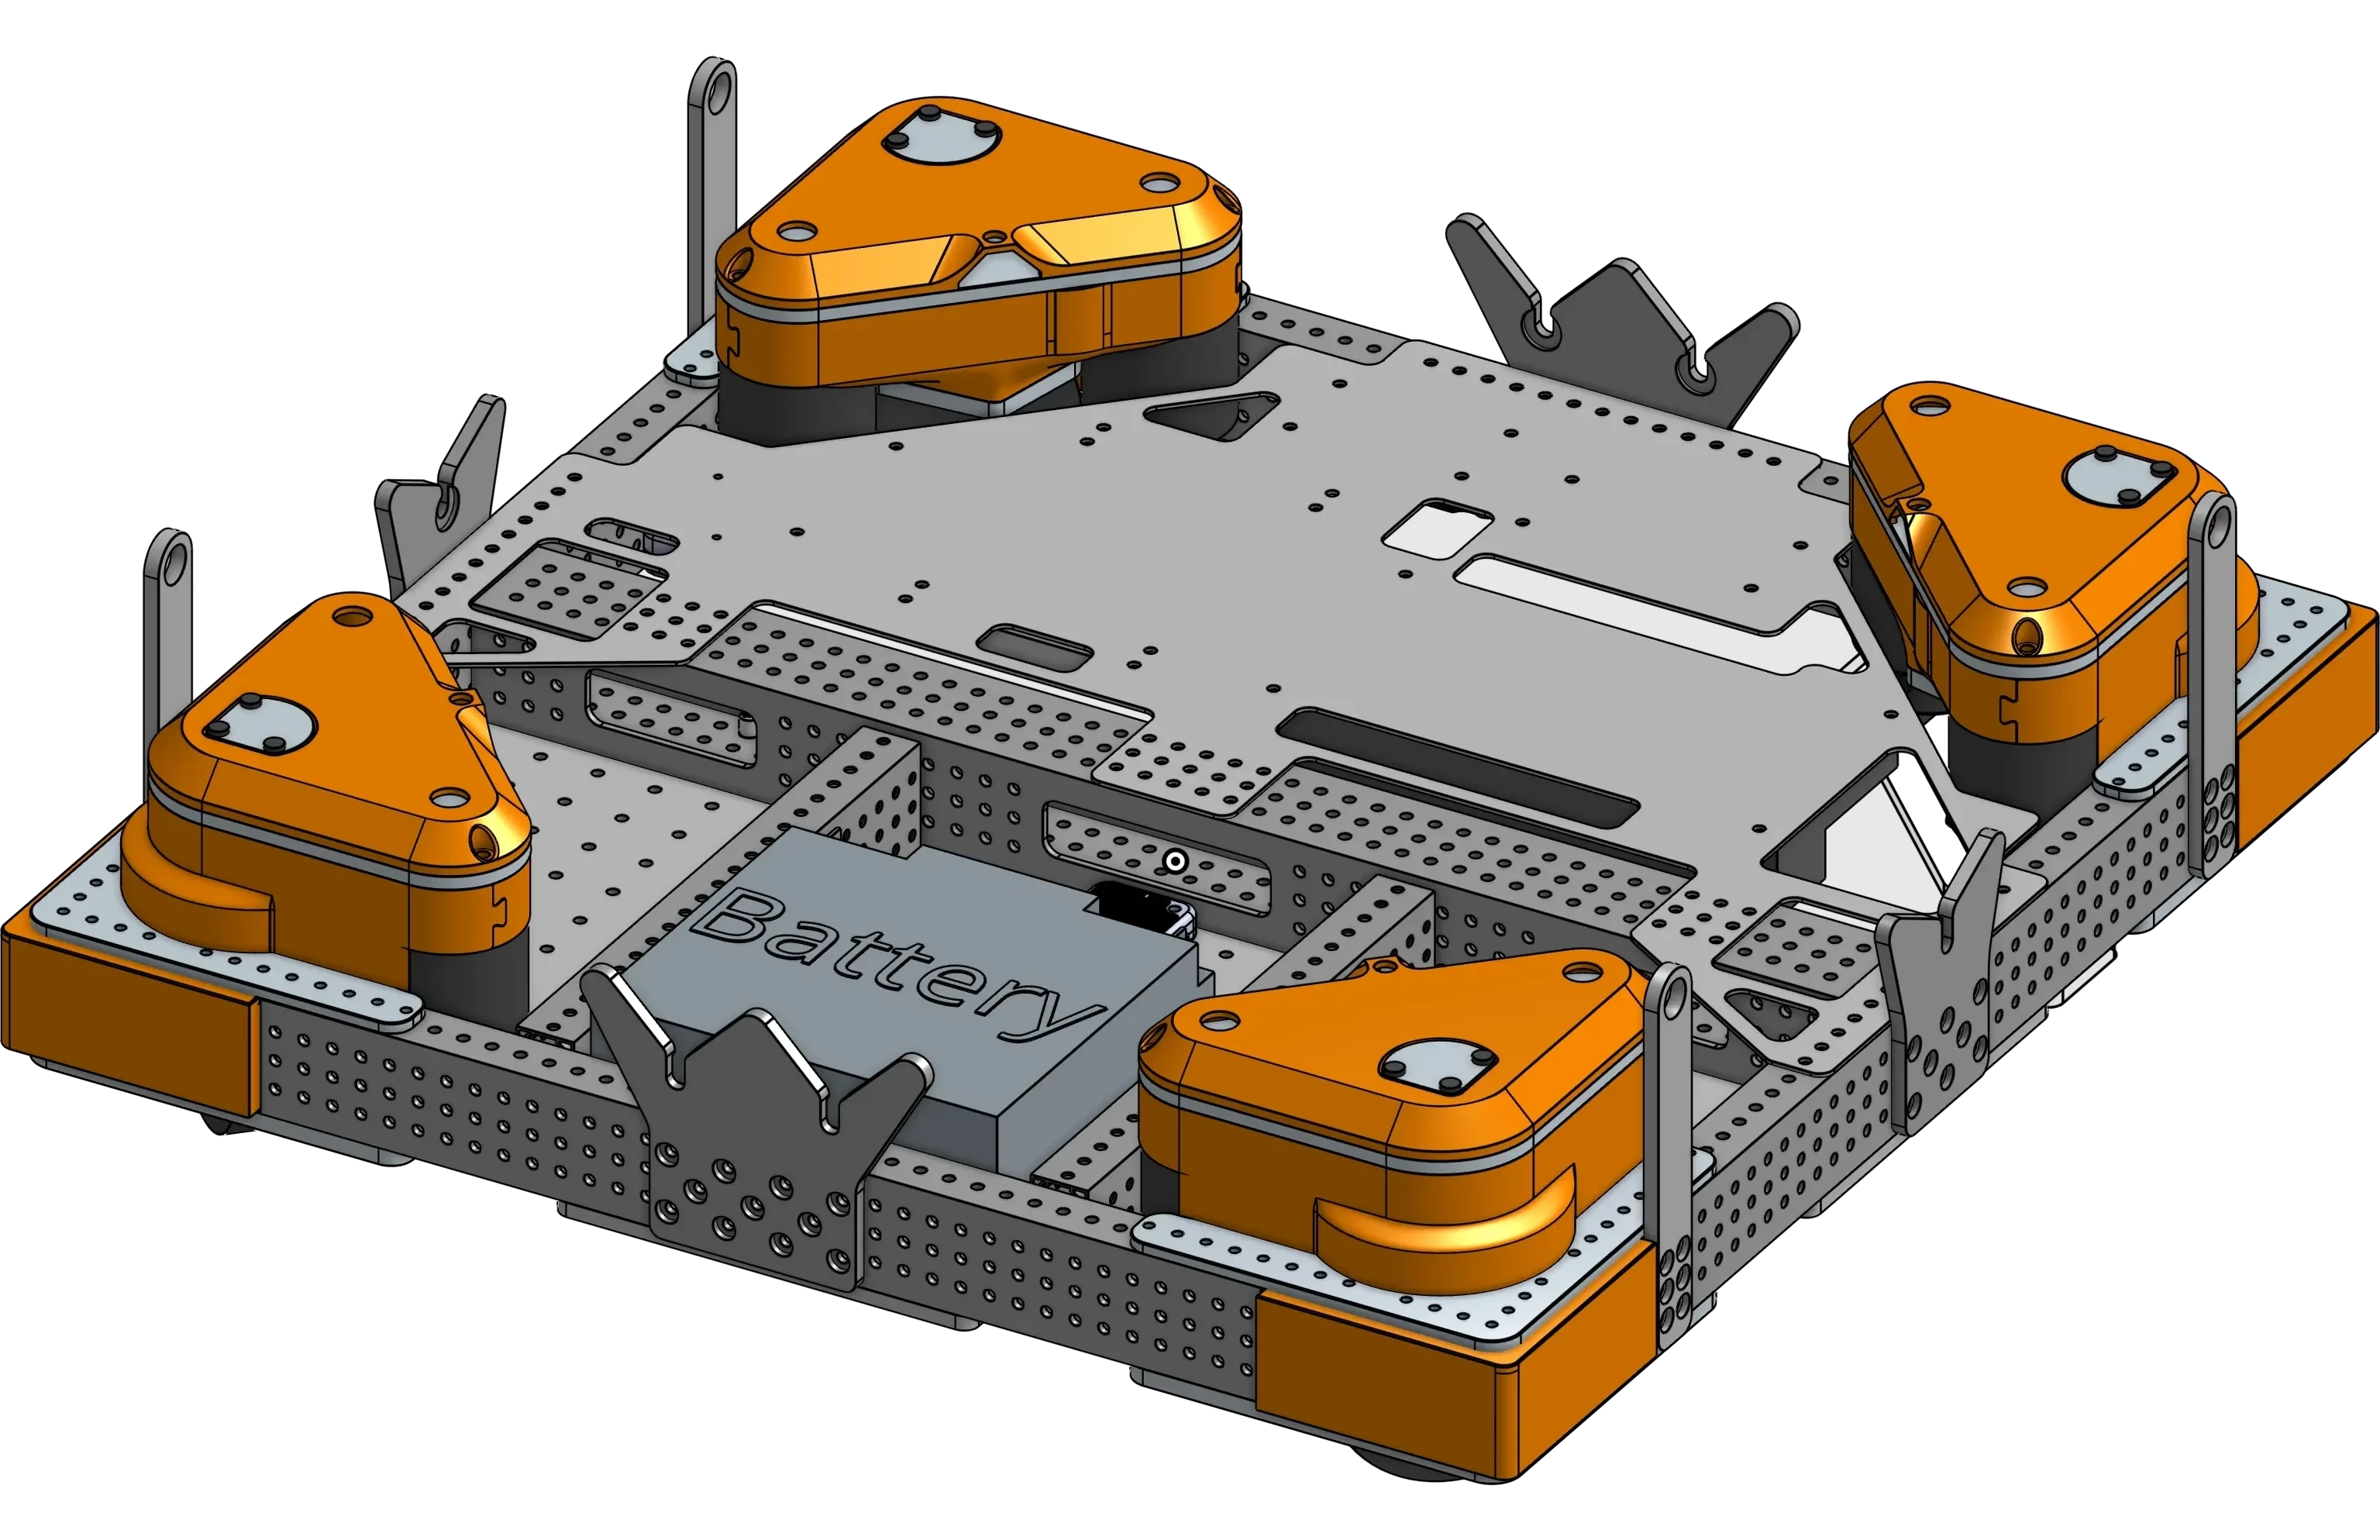](972_2024_dt.md)</center>
- <center markdown>[](972_2024_dt.md)</center>
---
A central 2x2 cross member, a brainpan, and citrus bumper mounting plates.
[:octicons-arrow-right-24: 972 Brainpan Drivebase](972_2024_dt.md)
[:octicons-arrow-right-24: 972 Brainpan Drivebase](972_2024_dt.md)
</div>
<br>
Adding a Grid Card to the Mechanism Examples Landing Page
All grid cards are contained in the <div class="grid cards" markdown> div. See the mkdocs-material docs about grid cards for more information.
Copy and paste the following code into the div and replace all template information with your own.
- <center markdown>[](link-to-category-page)</center>
***
Example Description
[:octicons-arrow-right-24: category-name](link-to-category-page)
Note
Leave a line break in the code between each card, otherwise the card content will merge.
The following is the code for the drivebase examples grid card:
- <center markdown>[](drivebase/swerve/index.md)</center>
- <center markdown>[](drivebase/swerve/index.md)</center>
***
Swerve drivebases with examples of electronics layout
[:octicons-arrow-right-24: Swerve Drivebases](drivebase/swerve/index.md)
[:octicons-arrow-right-24: Swerve Drivebases](drivebase/swerve/index.md)
Adding a Mechanism Example Page
Adding a mechanism example page to an already existing category requires a few things to be done. The page has to be created, a grid card for it must be created in the category landing page, and an standard image for the example needs to be created.
Creating the Page
Create a new .md file in the category folder for your example.
Copy the following template into it and fill out the information using Markdown formatting:
---
image: link-to-social-card-image
---
# mechanism-example-name
<figure markdown="span">
[{height=80% width=80%}](link-to-cad){target = "_blank"}
<figcaption>caption</figcaption>
</figure>
### Links
[CAD Link](link){target = "_blank"}
## Behind the Design
<br>
The following is an example of the 2910 Charged Up Drivebase page without content written:
---
image: docs\img\mechanism-examples\drivebase\2910_2023_dt.webp
image: docs\img\mechanism-examples\drivebase\2910_2023_dt.webp
---
# 2910 Charged Up Drivebase
<figure markdown="span">
[{height=80% width=80%}](https://cad.onshape.com/documents/28a885d3b8ad7de567efebbd/w/33b7dd39d54ec1ab15f2e2aa/e/d78c591638c349b708e238e6){target = "_blank"}
[{height=80% width=80%}](https://cad.onshape.com/documents/28a885d3b8ad7de567efebbd/w/33b7dd39d54ec1ab15f2e2aa/e/d78c591638c349b708e238e6){target = "_blank"}
<figcaption>Swerve drivetrain featuring MK4I swerve modules, a pocketed bellypan, and a billet brass frame-rail for weight distribution.</figcaption>
</figure>
### Links
[CAD Link](https://cad.onshape.com/documents/28a885d3b8ad7de567efebbd/w/33b7dd39d54ec1ab15f2e2aa/e/d78c591638c349b708e238e6){target = "_blank"}
## Behind the Design
<br>
Add any images you use for your page in /docs/img/mechanism-examples/[category]/[example]/.
Adding an Image for the Example
Check the category's .meta.yml for the default card layout (tall or wide). This will be the orientation of the 1:1.545 image you will use for the mechanism example.
1:1.545 is the aspect ratio of a picture outputted from Onshape's "print" function using the "tabloid" paper size. You can select landscape or portrait from there for wide or tall.
Tip
For images you already have, you can use GIMP and a calculator to crop an image by adding pixels to get it to the desired aspect ratio.
Adding Pages to Site Navigation
Any new pages added have to be added to the site navigation.
Follow the standard formatting presented in the mkdocs.yml file to add more pages, categories, and landing pages as necessary:
- Mechanism Examples:
    - mechanism-examples/index.md
    - Drivebases:
        - Swerve:
            - mechanism-examples/drivebase/swerve/index.md
            - 2910's Charged Up Drivebase: mechanism-examples/drivebase/swerve/2910_2023_dt.md
            - 1678's Crescendo Drivebase: mechanism-examples/drivebase/swerve/1678_2024_dt.md
            - 3005's Charged Up Drivebase: mechanism-examples/drivebase/swerve/3005_2023_dt.md
            - 6328's Crescendo Drivebase: mechanism-examples/drivebase/swerve/6328_2024_dt.md
            - 5460's Crescendo Drivebase: mechanism-examples/drivebase/swerve/5460_2023_dt.md
            - 972's Crescendo Drivebase: mechanism-examples/drivebase/swerve/972_2024_dt.md
        - Tank:
            - mechanism-examples/drivebase/tank/index.md
    - Intakes:
        - Pivoting Intakes:
            - mechanism-examples/intake/slapdown/index.md
            - 1678's Crescendo Intake: mechanism-examples/intake/slapdown/1678_2024_intake.md
            - 1778's Crescendo Intake: mechanism-examples/intake/slapdown/1778_2024_intake.md
            - 6423's Crescendo Intake: mechanism-examples/intake/slapdown/6423_2024_intake.md
            - 3847's Rapid React Intake: mechanism-examples/intake/slapdown/3847_2022_intake.md
            - 2910's IR @ Home Intake: mechanism-examples/intake/slapdown/2910_2021_intake.md
        - Linkage Intakes:
            - mechanism-examples/intake/linkage/index.md
            - 1678's Rapid React Intake: mechanism-examples/intake/linkage/1678_2022_intake.md
            - 6800's Rapid React Intake: mechanism-examples/intake/linkage/6800_2022_intake.md
            - 4089's Rapid React Intake: mechanism-examples/intake/linkage/4089_2022_intake.md
    - Game Piece Manipulation:
        - Shooters:
            - mechanism-examples/shooter/index.md
            - 1678's Rapid React Shooter: mechanism-examples/shooter/1678_2022_shooter.md
            - 6328's Crescendo Shooter: mechanism-examples/shooter/6328_2024_shooter.md
            - 2910's Rapid React Shooter: mechanism-examples/shooter/2910_2022_shooter.md
            - 6800's Rapid React Shooter: mechanism-examples/shooter/6800_2022_shooter.md
            - 2910's IR @ Home Shooter: mechanism-examples/shooter/2910_2021_shooter.md
        - Indexers:
            - mechanism-examples/indexer/index.md
        - End Effectors:
            - mechanism-examples/end-effector/index.md
    - Linear Extensions:
        - Continuous Elevators:
            - mechanism-examples/elevator/continuous/index.md
            - 1678's Charged Up Elevator: mechanism-examples/elevator/continuous/cable.md
            - 3847's Charged Up Elevator: mechanism-examples/elevator/continuous/belt.md
        - Cascade Elevators:
            - mechanism-examples/elevator/cascade/index.md
            - WCP Greyt COTS Elevator: mechanism-examples/elevator/cascade/wcp_greyt_elevator.md
            - 2 Stage Cascade Elevator: mechanism-examples/elevator/cascade/2_stage_elevator.md
            - 3 Stage Cascade Elevator: mechanism-examples/elevator/cascade/3_stage_elevator.md
        - Telescopes:
            - mechanism-examples/telescope/index.md
    - Rotating Mechanisms:
        - Pivots:
            - mechanism-examples/pivots/index.md
            - 6328 A-Frame Pivot: mechanism-examples/pivots/6328_2023_pivot.md
            - 2910 Dead Axle Pivot: mechanism-examples/pivots/2910_2023_pivot.md
            - 1690 Lantern Gear Pivot: mechanism-examples/pivots/1690_2024_pivot.md
            - 5460 Dead Axle Pivot: mechanism-examples/pivots/5460_2023_pivot.md
        - Turrets:
            - mechanism-examples/turret/index.md
As you can see, the formatting goes:
- Mechanism Examples:
    - mechanism-examples/index.md
    - Category 1:
        - link-to-category-landing-page
        - Mechanism 1: link-to-mech-1-page
        - Mechanism 2: link-to-mech-2-page
Thanks for your contribution!